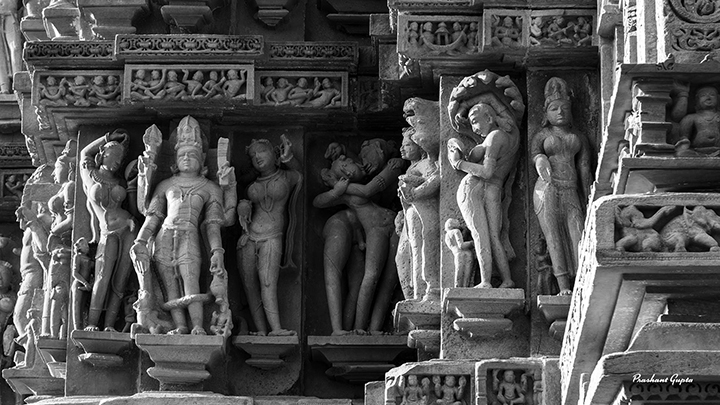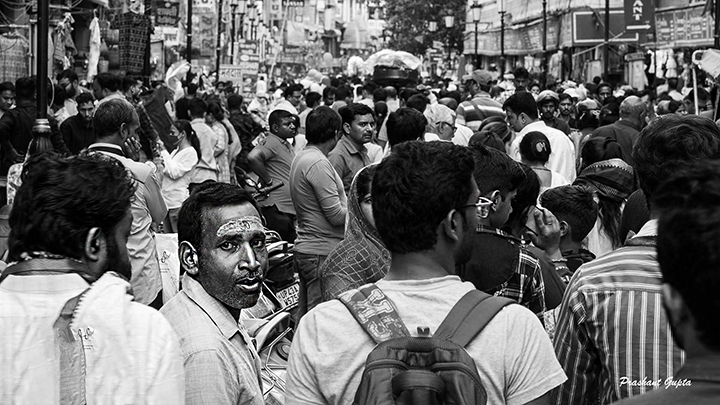
Converting a color photo to black and white and making it “pop” in Adobe Photoshop involves more than just desaturating the image. Here’s a step-by-step guide on how to do it with an emphasis on enhancing the contrast and details to make the black and white image stand out:
- Open Your Image:
- Start Photoshop and open the color image you want to convert.
- Duplicate The Background Layer:
- In the Layers panel, right-click the Background layer and select
Duplicate Layer. - This allows you to work on a copy of the original image, preserving the original layer.
- In the Layers panel, right-click the Background layer and select
- Convert to Black & White:
- Go to
Image>Adjustments>Black & White. - This opens a dialog box with sliders for different color ranges. Adjusting these sliders will determine how the original colors are converted to grayscale values.
- You can experiment with these sliders to get the desired look, or choose a preset from the dropdown menu.
- Go to
- Adjust The Contrast:
- One way to make your image pop is by enhancing its contrast.
- Go to
Image>Adjustments>LevelsorCurves.- For
Levels: Adjust the black and white input sliders below the histogram to increase contrast. - For
Curves: Create a slight S-curve by dragging the curve down for the shadows and up for the highlights.
- For
- Dodge & Burn (Optional):
- This technique involves lightening (dodging) or darkening (burning) specific areas of your image to enhance details or contrast further.
- Select the
Dodgetool (looks like a lollipop) to lighten areas. Use theBurntool (next to the Dodge tool) to darken areas. - Choose the range (Shadows, Midtones, or Highlights) from the options bar. A soft brush and low exposure (around 10-20%) is recommended to subtly build up the effect.
- Add a Vignette (Optional):
- A vignette can help draw attention to the center of the image.
- Create a new layer by clicking on the New Layer icon in the Layers panel.
- Go to
Edit>Filland chooseBlack. - Using the
Elliptical Marquee Tool, draw an oval or circle in the center of the image where you want to preserve clarity. - Feather the selection (Select > Modify > Feather) by a large value (e.g., 100px or more, depending on the resolution of your image).
- Hit the
Deletekey to remove the center of the black layer, leaving a soft black border around the image. - Reduce the layer’s opacity to control the strength of the vignette.
- Final Adjustments:
- For final touches, consider using
Image>Adjustments>Brightness/Contrastto fine-tune your image. - You can also add a subtle grain (Filter > Noise > Add Noise) to give the image a more analog, film-like quality.
- For final touches, consider using
- Save Your Image:
- Once you’re satisfied, save your image by going to
File>Save As.
- Once you’re satisfied, save your image by going to
By following these steps, you can convert your color photos into black and white images that truly stand out. Adjusting the contrast and details can give depth and drama to your photos, making them “pop” even without color.

Recent Comments